


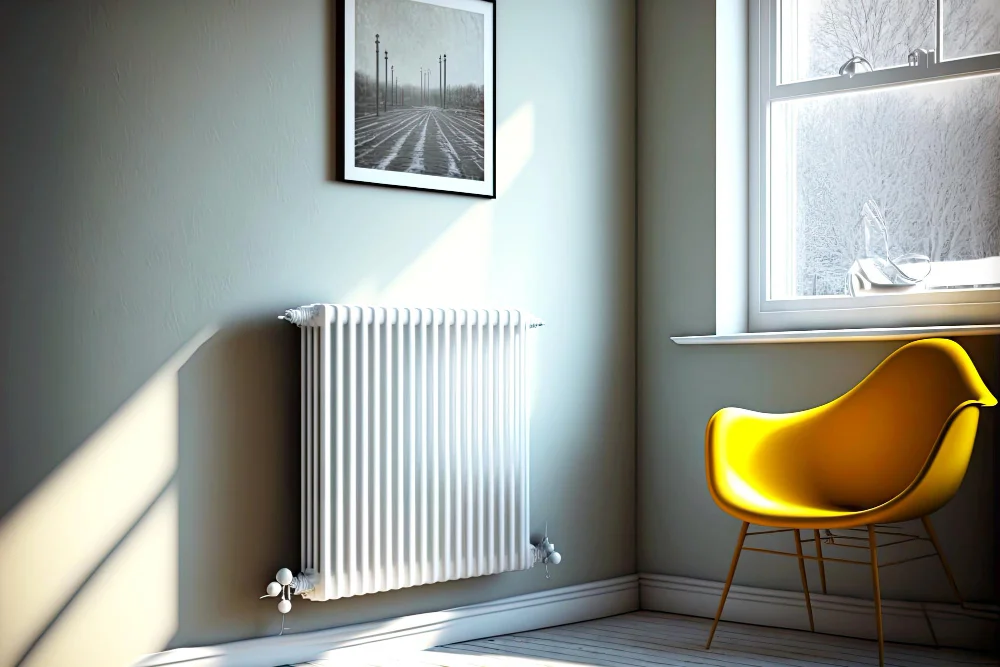
What pattern does the radiator present?
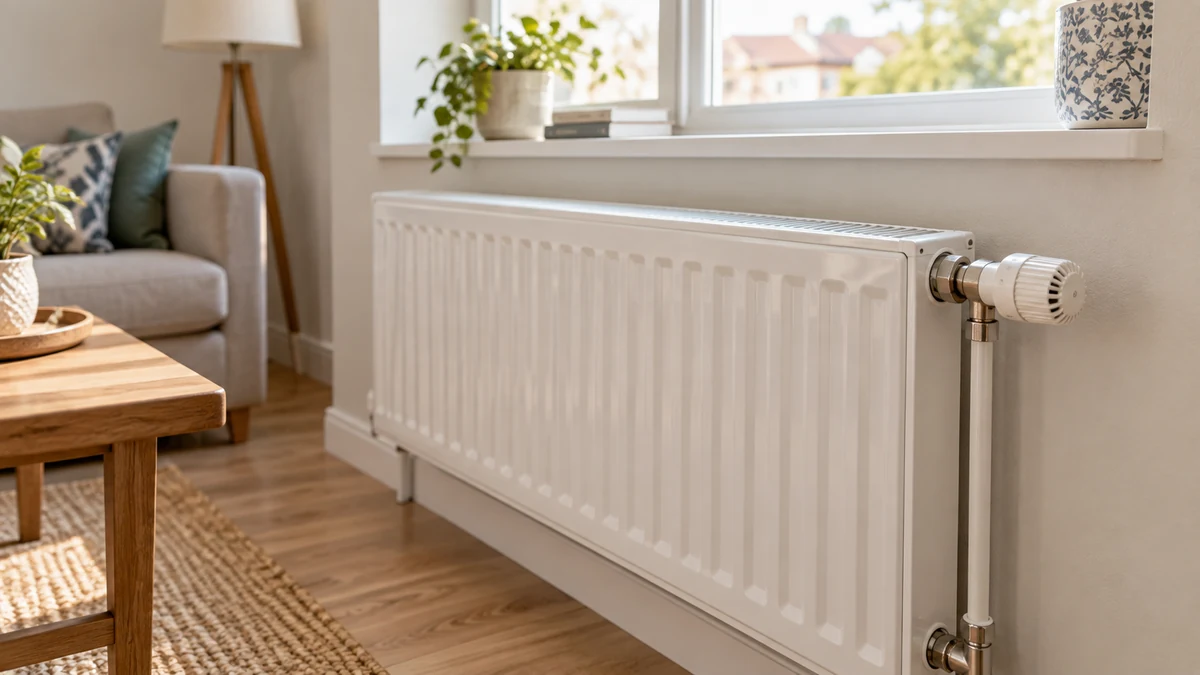
Bleeding releases trapped air in the emitter; it does not increase the boiler's power nor correct all circulation issues. The pattern helps to determine if it makes sense to check for air, control, or flow distribution. It is a clue, not a definitive diagnosis.
| Observation | Possible explanation | What to do first? |
|---|---|---|
| Cold upper part, warmer lower area, and gurgling. | There may be air in the radiator. | Check the manual and, if it is an accessible individual bleeder, assess a safe bleed. |
| Completely cold radiator | The valve may be closed, there may be no heating demand, or circulation may be lacking; it does not test for air. | Confirm that the thermostat is calling for heat and that the user valve is not closed. |
| Some radiators heat a lot and others little. | It can be influenced by the flow rate, the control, or the hydraulic balancing. | Do not adjust blind holders. The distribution may require professional assessment. |
| The problem reappears or the boiler pressure drops. | There may be an air intake, water loss, or another anomaly. | Avoid repeated bleeding; log when it occurs and request diagnosis. |
The general guide for Vaillant on hydraulic balancing differentiate the air in the upper part of a radiator from the flow imbalances between rooms. For the latter, the guide itself describes a professional assessment of the complete system. The technical guide of IDAE on individual heating Also explain how control and hydraulic adjustment affect different temperatures between rooms.
How to identify the radiator bleed valve?
Look for a small part at the top of one of the sides of the radiator. Its function is to release the accumulated air. It may have a square for a key, a slot, or a control knob: identify which one your radiator has before choosing the tool.

- 1Actuation control
- In this model, it is the white handle. Other bleed valves require a key; the procedure depends on the installed part.
- 2Outlet hole
- It is the small side hole. Air and then water come out of it: place a container underneath and protect the wall.
- 3Mounting thread
- It is the connection to the radiator. The body does not unscrew to bleed; the part is shown disassembled for identification.
The bleeder and the thermostatic valve perform different functions. The valve regulates the flow of water to the radiator; the pressure reducing valve intervenes in its return and flow adjustment. Do not loosen them to expel air. An automatic bleeder is not operated like a manual one. The Vaillant's explanation about bleed valves distinguish both types.
Before bleeding
 Identify the bleeder.
Check that it is an individual radiator from a home and that the manual bleed valve is visible and can be reached without moving heavy furniture or disassembling parts.
 Confirm the type of installation.
Check the instructions for the radiator and the system. If the heating is central/community, the bleed valve is not accessible, is damaged, or you do not know which circuit it controls, do not intervene: contact the community, the administrator, or the installer.
 Heating off and radiator cold
Turn off the heating and let the radiator cool down. Do not bleed it while hot water is circulating: water at a temperature capable of causing burns may come out.
 Prepare a wrench, cloth, and container.
Have a suitable wrench for that bleed valve, a cloth, and a small container on hand. Do not use tools that could deform the valve.
How to bleed an accessible manual radiator?
- Protect the work area.With the installation stopped and the radiator cold, place the container and the cloth under the bleed valve.
- Open the bleeder very little.Insert the corresponding key and open the bleed valve very slightly, following the direction indicated in the manual. Do not remove the screw or force a stuck part.
- Bleed the air and close it.If air comes out, let it escape without moving away. When it stops and water appears, close it gently. There is no need to drain the radiator.
- If only water comes out, stop.If water comes out from the beginning without air, close it again: insisting will not solve a cold radiator due to another cause.
- Check closure and pressure.Check that the valve is closed and that it is not leaking. Clean the water and observe the pressure gauge of the boiler, if your home has one, according to the manual.
The guide for Vaillant to bleed a radiator it is recommended to stop the circulation and check the pressure afterwards, as the operation may cause it to drop. The procedure and the key depend on the installed system: follow your equipment manual. If the pressure is outside its range, consult our guide on boiler pressure low or high?do not refill water with a universal value.
Practical details for bleeding without making a mess or forcing it.
Prepare the output before opening.
Locate the hole, bring the container closer, and place the cloth to protect the wall. Don't wait for the first splash to look for where to catch it. If there is little space, make sure you can comfortably hold the container and operate the bleeder.
Open slightly: there's no need to remove the screw.
The Vaillant guide suggests a quarter or half turn for the key drain valve it describes. This is not a standard instruction for all models: open slowly as indicated by the manufacturer. Removing the entire screw does not improve the bleeding and makes it difficult to control the output.
Listen to the air-to-water change.
The whistling indicates that air is being released. When it stops and a continuous flow of water appears, close it gently. There is no need to fill a glass or let water run for several minutes: you are expelling air, not emptying or flushing the radiator.
Check the closure on a dry surface.
Dry the exterior after finishing and check if a drop reappears. This way, you can distinguish the water that remained during the operation from a new drip. If it doesn't close, do not continue tightening with more force or use pliers: request a review.
If neither air nor water comes out, close it again. Opening more is not a useful test on its own. Note which radiator it is and the pressure indicated when cold, if you have an individual boiler; a professional will be able to check the condition of the bleeder and the circuit. If water comes out from the very beginning and the radiator remains cold, the cause may be related to circulation or control.
Compare the result when the heating starts working again. Record if the gurgling disappears, if the area that was cold improves, and if the pressure remains stable. Having to repeat the bleeding frequently warrants a review; do not turn it into a routine that hides the problem.
What to check afterwards
1. Drip-free closureCheck that the bleeder has been closed and that there are no leaks before restarting the heating.
 Pressure according to the manual
If your home has a boiler, confirm that the pressure is within the range specified in its manual. Do not use a figure from another brand as a guideline.
Heat and noiseAfter checking the closure and pressure, turn on the heating according to its usual use. Observe if the radiator heats up more evenly and if any noises occur.
If it remains cold upstairs, loses pressure again, or requires repeated bleeding, there may be an anomaly that bleeding does not correct. If the entire radiator does not heat, or the imbalance affects several rooms, a valve, the control, circulation, or hydraulic adjustment may need to be checked. The IDAE considers control and balance of the installation as elements of the system, not as a universal turn of a valve.